

Key Takeaways
- BuiltWith turns raw technographic signals into qualified lead lists, integration decisions, and competitor-conquest campaigns when paired with a structured 5-step workflow.
- The workflow requires a Pro account, a clearly defined ICP, and CRM access to convert technology data into pipeline results.
- Key steps include stack analysis, spotting integration gaps, historical tracking for churn signals, ICP-filtered exports, and automated change alerts.
- Success is measured by qualified leads generated, reduced time-to-insight, and attributable pipeline influenced by technographic targeting.
- Ready to turn BuiltWith data into revenue? Schedule a campaign strategy session to build your first competitor-conquest campaign with SaaSHero.
What You Need Before You Start
Confirm three prerequisites before you run this workflow. First, you need a BuiltWith Pro account or higher. Bulk CSV exports, historical technology tracking, and change alerts sit behind paid tiers. Second, you need a defined Ideal Customer Profile with firmographic criteria such as industry, employee count, revenue range, and geography, plus technographic criteria that signal fit or disqualification. Companies with a clearly defined ICP achieve 68% higher win rates and 1.7x faster sales cycles than those without one. Third, you need access to a CRM or analytics platform such as HubSpot or Salesforce so you can route leads and attribute pipeline.
With these pieces in place, you can move through the full workflow and see how each step feeds the next.
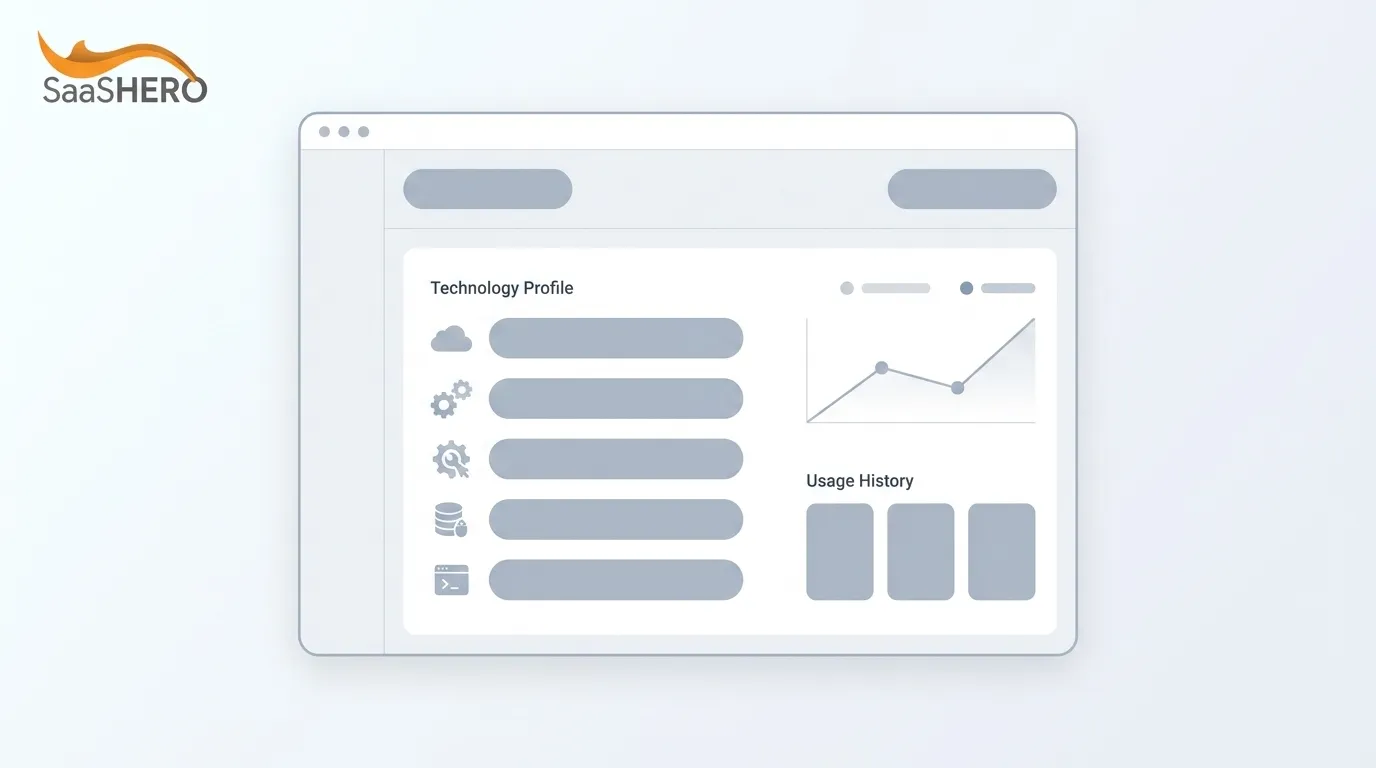
The 5-Step Workflow at a Glance
- Technology Lookup and Stack Analysis, identify what tools a target domain or competitor customer base is running to establish baseline technographic intelligence.
- Spotting Integration Opportunities, cross-reference competitor stacks against your own integration roadmap to find high-value partnership or product gaps.
- Historical Tracking for Growth and Churn Signals, use date-range comparisons to detect technology additions and removals that indicate expansion, migration, or dissatisfaction.
- Extracting ICP-Filtered Lead Lists, apply layered filters to export a clean, CRM-ready prospect list of accounts that match your ICP.
- Setting Up Competitor-Change Alerts and Dashboards, automate ongoing monitoring so new signals surface without manual re-runs.
Step 1: Technology Lookup and Stack Analysis
Purpose: Establish which technologies a domain or a set of competitor customers is running before you make outreach or campaign decisions.
Actions: Enter a target domain into BuiltWith Technology Lookup. Review the full stack output organized by category such as analytics, advertising, CMS, e-commerce, and hosting. For competitor analysis, run the lookup on the competitor domain and on a sample of their publicly listed customers.
Decision-point filters: Flag any technology that your product integrates with natively as a positive signal or directly competes with as a displacement opportunity. These flags create your first segmentation between partnership-ready accounts and displacement targets. Then exclude domains where a disqualifying technology is present. For example, if your product only integrates with HubSpot, exclude Salesforce-only accounts at this stage to avoid wasting effort on incompatible prospects.
Validation: Cross-reference high-value accounts against LinkedIn or Crunchbase before you act on the data.
Tip: BuiltWith tracks technologies from front-end signals, so back-end tools such as databases, queues, and cloud infrastructure often remain invisible. Pair front-end BuiltWith lookups with back-end job-post scraping on priority accounts to approximate full-stack coverage.
Common mistake: Treating the technology list as a complete system of record. Treat it as a starting hypothesis instead of a definitive audit.
Troubleshooting: If a known technology does not appear, the site may load it conditionally or through a subdomain. Run the lookup on app subdomains in addition to the root domain. Once you have this stack map, you can move into integration analysis that exposes product and partnership opportunities.
Step 2: Spotting Integration Opportunities
Purpose: Identify technology combinations in competitor customer stacks that reveal unmet integration demand or product roadmap gaps your team can address or exploit in messaging.
Actions: Use the BuiltWith List feature to pull all domains running a specific technology that your product already integrates with. Filter that list by a second technology that your product does not yet integrate with but competitors do. The overlap shows accounts where a new integration would increase your win rate and expand your reachable market.
Decision points: Rank integration opportunities by the volume of ICP-matching accounts that share the technology pairing. Focus on integrations where 50 or more ICP accounts share the same stack combination so each engineering investment unlocks a meaningful segment.
Validation: Bring the ranked list to a product roadmap review to prioritize integrations that unlock the largest addressable market segments. Technographic frequency data provides a quantitative input that replaces anecdotal sales feedback and lets you estimate how many ICP accounts each new integration would open up before you commit engineering resources.
Tip: Analyze your top 20% of customers by LTV, win rate, and expansion rate to identify technographic patterns that define best-fit accounts, then reverse-engineer which integrations those accounts share.
Common mistake: Building integration priority lists from sales anecdotes alone. Technographic frequency data from BuiltWith gives you a scalable and less biased signal.
Troubleshooting: If the overlap list is too small to be meaningful, broaden the technology filter to a category such as marketing automation instead of a specific vendor.
See how SaaSHero converts your technographic data into campaigns that generate Net New ARR.
Step 3: Historical Tracking for Growth and Churn Signals
Purpose: Detect technology additions and removals over time on competitor domains or within a prospect list so you can spot accounts that are expanding, migrating away from a competitor, or showing dissatisfaction.
Actions: In BuiltWith, open the Technology History tab for a target domain and set a date range of the past 90 to 180 days. Flag any technology that was added as a growth or expansion signal or removed as a churn or migration signal. For a prospect list, use the BuiltWith Trends report to see which technologies gain or lose adoption across a defined segment.
Growth signals show accounts investing in their stack, which makes them receptive to complementary tools. Churn signals reveal dissatisfaction windows where your product can position as the replacement, and each signal type should drive different messaging in your outreach sequences.
Churn signal example: A prospect removes a competitor analytics tag and adds a generic alternative within a 60-day window. Technology removal events are behavioral signals that precede churn decisions, so treat them as high-priority triggers for outreach.
Validation: BuiltWith data is not updated in real time, so a website that recently removed a technology may still appear in results until the next scan. Schedule monthly refreshes of historical reports to reduce lag between real-world changes and your data.
Tip: Combine technology removal signals with firmographic growth indicators such as recent funding rounds or headcount increases on LinkedIn. This combination helps you decide which churn signals deserve immediate outreach and which belong in nurture sequences.
Common mistake: Acting on a single technology removal event without confirming that the change persists across two consecutive monthly scans. A temporary tag removal during a site migration does not qualify as a churn signal.
Troubleshooting: If history data appears incomplete, the domain may have changed its primary URL. Run lookups on both the old and new domain to stitch the timeline together.
Test this workflow on one top competitor and note any technology additions or removals from the past 90 days.
Step 4: Extracting ICP-Filtered Lead Lists
Purpose: Export a clean, scored, CRM-ready list of accounts that match your ICP by using layered technographic and firmographic filters inside BuiltWith.
Filter sequence (apply in this order):
| Filter Layer | BuiltWith Input | ICP Example Value | Purpose |
|---|---|---|---|
| Technology Include | Specific tool name (e.g., HubSpot) | HubSpot CRM | Confirms tech fit |
| Technology Exclude | Disqualifying tool (e.g., Salesforce) | Salesforce CRM | Removes non-ICP accounts |
| Employee Count | Range filter | 50–500 employees | Firmographic fit |
| Geography | Country or region | United States, Canada | Territory alignment |
A 100-point ICP scoring model with weighted criteria, including tech stack match, company size, and growth signals, lets you prioritize high-fit accounts and exclude low-fit ones. Apply this scoring logic after export to rank the BuiltWith list before CRM import.
Here is how that scoring process fits into the export workflow. First, export the filtered list as a CSV from BuiltWith. BuiltWith exports are often described by G2 reviewers as messy and difficult to ingest into CRMs without significant cleanup. Before import, deduplicate against existing CRM records, standardize company name and domain fields, and append ICP scores. Map the domain field to the CRM website property so you can deduplicate on re-import.
Validation: B2B data decays at roughly 22.5% per year, so validate exported lists against LinkedIn or a data enrichment tool before you launch outreach. Remove accounts with no LinkedIn presence or a domain that has changed ownership.
Tip: Use waterfall enrichment to fill missing firmographic and technographic fields before ICP scoring so profiles are complete enough for reliable segmentation.
Common mistake: Importing raw BuiltWith CSVs directly into a CRM without deduplication or scoring. This approach pollutes the pipeline with unqualified records and erodes rep trust in the data.
Troubleshooting: If the filtered list is too small, usually fewer than 200 accounts, loosen one firmographic filter at a time, typically employee count, before you loosen technographic filters, which carry stronger ICP signal.
Step 5: Setting Up Competitor-Change Alerts and Dashboards
Purpose: Automate ongoing monitoring so technology adoption and removal events surface as actionable alerts without manual re-runs of the workflow.
Actions: In BuiltWith, configure Technology Alerts for each competitor domain and for the key technologies in your ICP filter set. Set alert frequency to weekly for high-priority competitors and monthly for the broader prospect list. Connect BuiltWith alert exports to a Looker Studio or HubSpot dashboard that tracks technology adoption trends over time across your target segment.
Validation: Confirm that alerts trigger by making a known test change. Add a tracking pixel to a test domain you control and verify that the alert fires within the expected window.
Tip: Route high-priority alerts, such as competitor technology removal on an ICP-fit account, directly to a sales rep via Slack using a Zapier or Make automation. This routing cuts time-to-insight from days to hours.
Common mistake: Setting alerts without assigning ownership. Give every alert category a named owner in RevOps or marketing who will triage and route the signal.
Troubleshooting: If alert volume is too high to action, add a firmographic filter such as employee count or geography to the alert configuration so you only see ICP-fit accounts.
Measuring Success of Your BuiltWith Workflow
Three metrics show whether this workflow generates value. Track qualified leads from BuiltWith-sourced lists, time-to-insight from a technology change event to a sales action, and downstream pipeline influenced by campaigns built on technographic targeting.
| Metric | Before Workflow | After Workflow | Target Benchmark |
|---|---|---|---|
| Time-to-insight (days) | 14–30 days (manual) | 1–3 days (automated alerts) | Under 48 hours |
| ICP match rate on exported lists | 20–30% (unfiltered) | 70–85% (layered filters) | 75%+ |
| Pipeline influenced per quarter | Untracked | Attributed via CRM source field | Defined by ARR target |
Advanced Plays for Mature Teams
Multi-channel teams can feed BuiltWith-sourced account lists directly into LinkedIn Matched Audiences and run competitor-conquest campaigns that target decision-makers at accounts where a competitor technology was recently removed. This approach combines technographic churn signals with paid social precision. For enterprise teams that run high-volume prospecting, BuiltWith API access supports automated list refreshes on a set cadence and removes manual export cycles.
Quick Recap Checklist
- Run Technology Lookup on competitor domain and a sample customer list.
- Flag integration-positive and disqualifying technologies.
- Pull Technology History for the past 90–180 days on priority accounts.
- Apply layered ICP filters, including technology include, technology exclude, employee count, and geography.
- Export CSV, clean and score against your ICP model, then import to CRM.
- Configure weekly technology change alerts for high-priority competitors.
- Connect alerts to Slack routing and a Looker Studio dashboard.
- Validate list accuracy against LinkedIn before you launch outreach or campaigns.
Next Actions by Team Maturity
Founder-led teams: Start with a single competitor domain lookup and one ICP filter combination. Export 100–200 accounts, validate manually, and run one outreach sequence before you scale. This constrained first run proves that technographic targeting generates qualified conversations before you invest in automation or higher list volumes, so the goal is proof of concept rather than volume.
Scaling teams (Series A–B): Implement the full 5-step workflow with automated alerts and CRM routing. Assign a RevOps owner to the alert triage process. Feed filtered lists into LinkedIn Matched Audiences for competitor-conquest paid campaigns alongside outbound sequences.
Enterprise teams: Integrate the BuiltWith API with your data warehouse. Build a technographic scoring layer inside your CRM that automatically re-scores accounts when technology change events appear. Use the dashboard to report pipeline influenced by technographic signals to the board each quarter.
Turn Intelligence Into Revenue
BuiltWith provides the raw technographic signals. Translating those signals into Net New ARR requires structured workflows, ICP-filtered lead lists, and paid campaigns built around competitor-intent psychology. SaaSHero executes this entire chain, from BuiltWith data extraction through ICP filtering, CRM routing, and competitor-conquest Google and LinkedIn campaigns, as a single integrated engagement. The result is measurable pipeline instead of a spreadsheet of domain names.
Frequently Asked Questions
What BuiltWith plan is required to run this workflow end to end?
A BuiltWith Pro plan or higher is the minimum requirement for the full workflow. The free tier supports individual domain lookups but does not include bulk CSV exports, historical technology tracking, technology change alerts, or the List feature used in Steps 3 through 5. The Pro plan starts at $495 per month. For teams running high-volume prospecting or needing automated list refreshes, API access on higher tiers removes manual export cycles and supports direct integration with CRM and data warehouse environments.
How accurate is BuiltWith data, and how should teams account for inaccuracies?
As noted in Step 1, BuiltWith tracks technologies from front-end signals, so back-end infrastructure remains invisible. Treat BuiltWith as a segmentation and hypothesis-generation tool rather than a definitive system of record. Before you launch outreach or paid campaigns against a high-value account, validate technographic findings against LinkedIn, Crunchbase, or a secondary enrichment source. For large exported lists, validate a 10–15% sample before full CRM import to catch systematic detection errors.
How does this workflow connect to paid media campaigns?
ICP-filtered BuiltWith lead lists connect to paid media in two main ways. First, the domain list can be uploaded to LinkedIn Campaign Manager as a Matched Audience so ads reach decision-makers at accounts where a competitor technology was recently removed or where your integration stack already exists. Second, technographic signals shape messaging for competitor-conquest Google Ads campaigns. Accounts running a specific competitor tool respond better to pricing comparison pages and switching-cost reduction offers than to generic product messaging. SaaSHero structures these campaigns around three psychological intent buckets, pricing intent, problem intent, and review intent, each with a dedicated landing page architecture designed to convert competitor-aware traffic into demo requests and qualified pipeline.
How often should the ICP filter criteria and BuiltWith lists be refreshed?
Review ICP criteria at least quarterly. As mentioned in Step 4, data decay means a list built in January will have meaningful inaccuracies by October without re-enrichment. Technology stack data has a shorter effective shelf life for churn and migration signals. A technology removal detected in a monthly scan may already be 30 to 60 days old when it appears. For high-priority competitor monitoring, weekly alert configurations reduce this lag. For broader prospect lists used in outbound sequences or paid campaigns, a monthly re-export and re-validation cycle balances accuracy with operational effort.
What is the fastest way to get pipeline value from this workflow if starting from scratch?
The fastest path to pipeline is to run Step 1 and Step 4 in sequence on a single high-priority competitor during your first week. Identify the competitor whose customers most closely match your ICP and run a Technology Lookup on their domain to confirm the stack. Use the BuiltWith List feature to pull all domains running that competitor primary tool. Apply one firmographic filter, such as employee count that matches your ICP, and export the result. Clean the CSV, score against your ICP model, and import the top 50 accounts into your CRM as a named campaign source. Route those accounts into a LinkedIn Matched Audience and a personalized outbound sequence at the same time. This parallel activation of paid and outbound against the same technographic list compresses time-to-pipeline from weeks to days and mirrors the sequence SaaSHero runs at scale.