




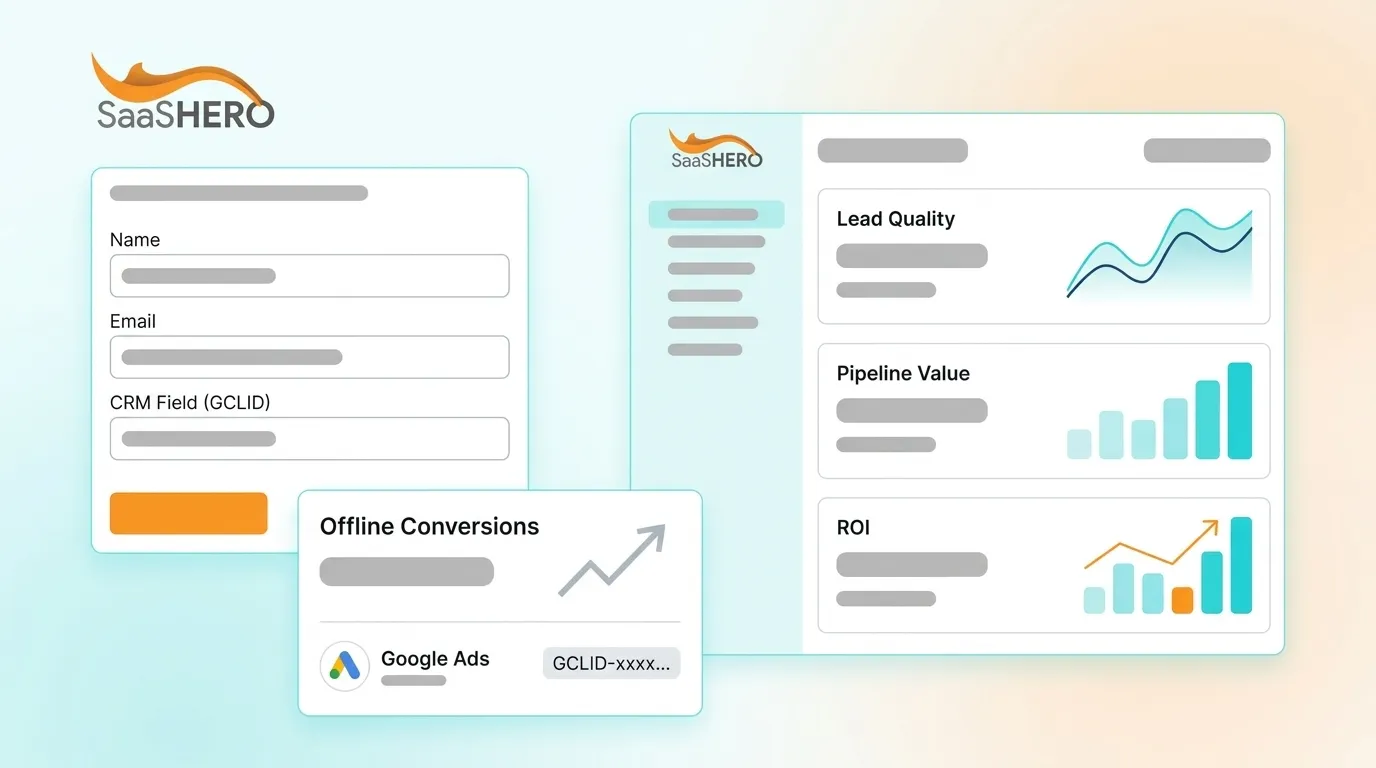
Written by: Aaron Rovner, Founder, Saas Hero
Key Takeaways
- Turn on auto-tagging in Google Ads so every ad click appends a GCLID parameter to the landing URL.
- Read the GCLID on first landing and store it in a first-party cookie with a 90-day expiry before the visitor navigates away.
- Populate a hidden form field from the stored cookie value on DOMContentLoaded so the GCLID reaches the CRM on submission.
- Map the captured GCLID to a dedicated custom field in your CRM (HubSpot, Salesforce, or GoHighLevel) without changing its case or format.
- SaaSHero helps B2B SaaS teams own the full capture-and-upload loop so Smart Bidding learns from qualified pipeline instead of form fills.
Talk To SaaSHero About GCLID Capture
Prerequisites And Context
Confirm these access levels and decisions before you start implementation.
- Google Ads admin access
- Google Tag Manager (GTM) access
- CRM admin access, such as HubSpot, Salesforce, or GoHighLevel
- A developer or someone comfortable editing form code
- A defined conversion event to upload, such as qualified lead, opportunity, or closed-won
Three concepts underpin the entire workflow.
- What a GCLID is: A Google Click ID (GCLID) is a unique parameter Google’s auto-tagging appends to the landing-page URL after an ad click. It lets you identify each click and later connect it to a conversion.
- What offline conversion tracking means: You upload CRM events, such as qualified leads or closed deals, back to Google Ads against the original click identifier. Smart Bidding then adjusts toward revenue instead of simple form fills.
- Why the GCLID is the join key: It is the only identifier that connects the ad click record in Google Ads to the contact or opportunity record in the CRM. Without it, every offline import produces zero attributed conversions.
Expect a few hours for the capture layer in Steps 1 through 5 and additional time for the upload path in Step 6. The entire workflow depends on auto-tagging being enabled before any other step.
Process Overview
- Enable auto-tagging and verify the GCLID parameter appends.
- Read and persist the GCLID in a cookie or localStorage.
- Pass it into forms via a hidden field.
- Map it to a CRM custom field.
- Verify capture.
- Upload conversions via the 2026 path.
Step 1: Enable Auto-Tagging And Verify The GCLID Parameter
Auto-tagging creates the GCLID, so nothing else in this guide works until it is on. Auto-tagging is required for businesses that want to track offline conversions, and every later step depends on it.
Follow this short procedure.
- Sign in to Google Ads and open Admin > Account settings > Auto-tagging.
- Check the box next to “Tag the URL that people click through from my ad,” then save. This setting causes Google to append the GCLID parameter to every ad click URL.
When enabled, a click on an ad for www.example.com produces a final URL like www.example.com/?gclid=CjwKCAjw…. The GCLID is the long alphanumeric string appended as a query parameter. Input is Google Ads admin access, and output is a GCLID parameter on every ad click URL.
Decision Point: If the account uses cross-account conversion tracking, turn auto-tagging on manually in each child account.
Validation: Click a live ad and inspect the address bar. The final landing URL must contain the GCLID parameter.
Common Mistake: Many teams assume auto-tagging is on because it was on at account creation. Auto-tagging is on by default for new accounts, yet it is frequently disabled during account migrations.
Troubleshooting: If the landing page errors when auto-tagging is on, the site may not allow arbitrary URL parameters. Turn auto-tagging off, have a developer allow arbitrary URL parameters, then turn it back on.
Step 2: Read And Persist The GCLID
The GCLID appears on the first landing page URL and then disappears when the visitor navigates. If the GCLID is only read at form submit, any visitor who lands, navigates away, and returns has already lost it. Capture must happen on first landing.
The following JavaScript reads the GCLID parameter from the URL and writes it to a first-party cookie with a 90-day expiry.
function getGclid() { const params = new URLSearchParams(window.location.search); return params.get('gclid'); } function setGclidCookie(value) { const expires = new Date(); expires.setTime(expires.getTime() + (90 * 24 * 60 * 60 * 1000)); document.cookie = 'gclid=' + value + ';expires=' + expires.toUTCString() + ';path=/;SameSite=Lax'; } const gclid = getGclid(); if (gclid) { setGclidCookie(gclid); }GTM Alternative: Create a URL variable for GCLID, a custom HTML tag that writes the cookie, and a trigger that fires on page view when the GCLID URL variable is present.
Decision Point: Cookie Vs. localStorage: Cookies travel with server requests and work with most form tools. localStorage persists longer but requires script to read at submission. For most B2B SaaS implementations, a first-party cookie is the more reliable choice.
Common Mistake: Teams often set cookie expiry too short. Google retains the GCLID for 90 days, so tie the cookie expiry to that window.
Step 3: Pass The GCLID Into Forms
The stored GCLID must move from the cookie into the form submission through a hidden input field populated by script on page load. URL inheritance alone does not carry the value into the payload.
Add this hidden input to the form.
<input type="hidden" name="gclid" id="gclid" value="">Then populate it from the cookie on DOMContentLoaded.
document.addEventListener('DOMContentLoaded', function() { const gclidValue = document.cookie.split('; ').find(row => row.startsWith('gclid=')); if (gclidValue) { document.getElementById('gclid').value = gclidValue.split('=')[1]; } });Form-Tool Parameter Stripping: When a form is embedded via a third-party tool such as Typeform, Jotform, or Wix forms, the hidden-field logic runs on the parent page, but the iframe form does not pass the value through to the submission payload. The GCLID never reaches the CRM in that pattern. Place the hidden field on the same page as the form submission and avoid iframe isolation.
Troubleshooting: Configure redirects to forward parameters, avoid link shorteners on ad final URLs, and ensure canonical rewrites retain the query string. GTM firing order also matters. The cookie-write tag must fire before the form-population script runs.
Step 4: Map The GCLID To CRM Fields
The GCLID must land in a named, queryable field on the contact or lead record. Use the field types below for each CRM. GCLID is case-sensitive, so store it exactly as received or the conversion match fails. The Google Click ID must be sent exactly as received. The table below shows the correct field type and field name for each supported CRM.
| CRM | Field Type | Field Name | Notes |
|---|---|---|---|
| HubSpot | Single-line text property | GCLID | Supports up to 65,536 characters via CRM, with no limit via form |
| Salesforce | Text (255) | GCLID__c | Create on Lead and Opportunity objects and map from Lead to Opportunity on lead conversion |
| GoHighLevel | Single-line text custom field | GCLID | Create on the Contact object and keep field keys identical when using the API |
For Salesforce, the target field must be at least as long as the source field. Data truncates if the source value is longer than the target field allows. Create the GCLID__c field on both the Lead and Opportunity objects and configure lead field mapping so the value carries through on conversion.
For GoHighLevel, API calls must reference field keys that match the custom field exactly. Mismatched keys cause failures or create unintended new fields.
Get Your CRM GCLID Fields Reviewed
Step 5: Verify GCLID Capture End To End
Verification confirms the GCLID actually lands in the CRM and determines whether the upload path can ever produce attributed conversions.
Work through these checks in order.
- URL parameter inspection: Click a live ad and confirm the final landing URL still contains the GCLID parameter in the address bar.
- GTM preview mode: Confirm the tag that writes the cookie fires on page load and the cookie is set with the correct value.
- CRM record check: Submit a test form, then open the created CRM record and verify the GCLID field is populated with a long alphanumeric string.
The key signal is the share of paid-search leads in the CRM with non-null GCLID values. A blank GCLID field means offline imports will produce zero attributed conversions regardless of how correctly the import process itself is configured.
Troubleshooting Order: If the GCLID is missing, check auto-tagging first, then redirect chains, then form-tool parameter stripping.
Step 6: Upload Conversions With Enhanced Conversions For Leads
Google now expects new offline conversion setups to use Enhanced Conversions for Leads through Data Manager. On June 15, 2026, the Google Ads API’s UploadClickConversions request stopped accepting new adopters for offline conversion imports. Teams that had not actively used the legacy endpoint between December 2025 and May 2026 are blocked from it. All new integrations must use the Data Manager API, and Google is consolidating offline conversion handling into that path.
Enhanced Conversions for Leads is an upgraded version of offline conversion import that uses user-provided data, such as email addresses, to supplement imported offline conversion data. This improves both accuracy and bidding performance.
Key requirements for the 2026 path:
- Required fields: Email, Google Click ID (GCLID) or GBRAID, conversion name, conversion time, and conversion goal.
- Hashing: Normalize email and phone, then hash with hex SHA256 before upload.
- Upload window: Enhanced Conversions for Leads uses a 63-day upload window.
- Data Manager import range: For GCS, Amazon S3, HTTP, SFTP, and gSheets, Data Manager imports conversions from 90 days ago. For Salesforce and HubSpot, Data Manager imports the last 14 days on the first run, then all changes since the last successful run.
- Customer data terms: Advertisers must accept the customer data terms in Google Ads account settings for Enhanced Conversions for Leads to function.
- CSV fallback: CSV upload remains available for teams without API access.
Google states that each parameter, including GCLID and hashed first-party data, can significantly affect the accuracy of reported conversions. Capturing GCLID in the CRM remains essential even under the new path because it supplements hashed data matching and improves attribution accuracy when email match rates are lower.
For a full comparison of enhanced versus offline conversion tracking, see Enhanced Vs Offline Conversion Tracking: A B2B SaaS Guide.
Measurement And Validation Of Your Setup
Three operational metrics show whether the capture-and-upload loop works as intended.
- Match rate on uploaded conversions: This is the share of uploaded conversion records where Google successfully matched the data to an ad click. Match rates above 50% produce visible improvements in Smart Bidding accuracy. A match rate of 0% means the upload is producing no signal.
- Percentage of CRM records with a populated GCLID field: Review paid-search leads created in the last 30 days. Any significant share of blank GCLID fields indicates a capture failure upstream.
- Conversion attribution in Google Ads: Uploaded conversions should appear in the Google Ads conversion column within 24 to 48 hours of upload. Google Ads recommends uploading an extra day’s worth of conversion data with each import because conversions occurring within one day of the click may not be recordable yet.
Review results across three surfaces: Google Ads conversion reporting, GTM preview mode for tag firing confirmation, and CRM record-level inspection. Common measurement issues include attribution gaps from long B2B sales cycles, low data volume in early months, and tracking inconsistencies introduced by CRM or form changes. Allow at least one full sales cycle before judging match rate. A 90-day cycle means the first meaningful match rate data arrives three months after launch.
This measurement layer is what SaaSHero manages end to end for B2B SaaS clients. As a Google Premier Partner in the top 3% of Google Partners, with over $60M in lifetime ad spend managed for SaaS companies, SaaSHero focuses on whether you optimize campaigns around CRM data or just form submissions. Capture only creates value when someone owns the join between ad click and CRM record, and many B2B SaaS teams at the $20M to $50M ARR range lack that internal owner.
Review Your Measurement Layer With SaaSHero
Advanced Variations And Extensions
Teams with a mature capture layer can extend this setup to improve attribution coverage and reporting depth.
- Sending both GCLID and hashed first-party data: A robust setup captures whichever identifier is present, such as GCLID, WBRAID, or GBRAID, instead of only looking for GCLID. Hashed email travels alongside as a recovery net for clicks where the identifier does not survive the full sales cycle.
- Multi-page sessions and cross-domain tracking: When the conversion happens on a second domain, the GCLID must cross that domain boundary. Implement cross-domain linker configuration in GTM and verify the cookie persists across the handoff.
- Connecting capture to CRO and reporting governance: GCLID-level data in the CRM enables keyword-level and audience-level pipeline reporting. This connects to broader attribution work. Push lifecycle stage events back into Google Ads so Smart Bidding learns from qualified outcomes, not just form fills. SaaSHero builds and maintains this full loop, including conversion tracking configuration, primary-versus-secondary conversion architecture, and CRM-connected reporting in HubSpot, Salesforce, or GoHighLevel. See also: How To Implement GCLID Tracking During Agency Onboarding.
Summary And Next Steps
The six-step workflow brings GCLID from ad click into CRM and back into Google Ads.
- Enable auto-tagging in Google Ads and verify the GCLID parameter appends to ad click URLs.
- Read the GCLID on first landing and persist it in a first-party cookie with a 90-day expiry.
- Populate a hidden form field from the cookie on DOMContentLoaded, since URL inheritance does not carry the value into the submission.
- Map the hidden field to a named CRM custom field: HubSpot single-line text property, Salesforce Text(255) field (GCLID__c on Lead and Opportunity), or GoHighLevel single-line text custom field. Store the value without changing its case.
- Verify capture by inspecting the URL, GTM preview, and a test CRM record before touching the upload path.
- Upload conversions via Enhanced Conversions for Leads through Google Ads Data Manager, which is required for all new adopters after June 15, 2026.
Choose next actions based on team maturity.
- A solo marketer should complete Steps 1 through 3 and verify a non-null GCLID on a test CRM record before configuring the upload path.
- A team with a developer and RevOps support can move straight through to Step 6. The developer owns the JavaScript and GTM configuration, and RevOps owns the CRM field mapping and Data Manager connection.
Teams that do not have an internal owner for the join between ad click and CRM record match the profile SaaSHero serves. SaaSHero has supported more than 100 B2B companies and manages over $60M in lifetime ad spend. The team owns the measurement layer end to end, including conversion tracking configuration, primary-versus-secondary conversion architecture, CRM-connected reporting, and lifecycle stage events pushed back into the ad platforms so bidding learns from qualified pipeline rather than form fills.
Connect Your CRM Pipeline To Google Ads
Frequently Asked Questions
How Long Should You Store A GCLID?
Store the GCLID in a first-party cookie with a 90-day expiry that matches Google’s retention window. Google retains the GCLID for 90 days, and a conversion uploaded more than 90 days after the associated ad click will not import into Google Ads. Enhanced Conversions for Leads uses a stricter 63-day upload window, so the 90-day cookie expiry covers both paths. Set the expiry when the cookie is written on first landing, not at the time of form submission.
Is GCLID Case-Sensitive?
GCLID is fully case-sensitive, so store and upload it exactly as received from the URL parameter. Do not lowercase, trim internal characters, or normalize it beyond removing leading and trailing whitespace. Any transformation changes the string, and Google’s matching logic fails to connect the uploaded conversion to the original ad click. Many offline conversion setups fail silently at this step because the upload succeeds technically but produces zero attributed conversions.
Does The Old GCLID Upload Method Still Work In 2026?
New implementations must follow the Enhanced Conversions for Leads path described in Step 6. The legacy UploadClickConversions endpoint closed to new adopters on June 15, 2026, and Google is steering all teams toward Data Manager for offline conversion handling.
What If My Form Tool Strips URL Parameters?
Use script to populate the hidden GCLID field from the cookie instead of relying on URL inheritance. If the form lives inside an iframe from a third-party tool, the parent page script cannot push the value into the submission payload. In that case, the form tool must support hidden field population from a cookie or JavaScript variable, or you need a native form implementation that exposes the full submission payload.
How Often Should This Implementation Be Revisited?
Revisit the setup after any change to forms, CRM configuration, Google Ads account settings, or GTM. The most common triggers for silent capture failure include a CRM migration that removes or renames the GCLID field, a form rebuild that drops the hidden input, an account migration that disables auto-tagging, a redirect rule change that strips query parameters, and a GTM container publish that alters tag firing order. A quarterly audit of the three verification steps, including URL parameter inspection, GTM preview, and CRM record check, catches most failures before they affect a full quarter of pipeline data.
Schedule A GCLID Tracking Audit